
An open-source video recorder and live streaming software.
Size: 133.32 MB
- Latest Version: 30.2.3
- License: Free
- Final Released: 16/08/2024
- Publisher: OBS Team
- Operating Systems: Windows 11, Windows 10, Windows 8, Windows 7 | macOS 10.15 and newer
- System Type: 32-bit & 64-bit
- Setup File: OBS-Studio-30.2.3-Windows-Installer.exe
- Category: Media Player
- Uploaded: GitHub
About OBS Studio
Yes, OBS Studio allows you to record videos and create live streaming very quickly. It supports all of your favourite streaming platforms including Twitch, TikTok Live, Mixer, Mixcloud, Instagram Live, YouTube Live, Facebook Live etc.
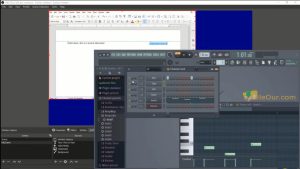
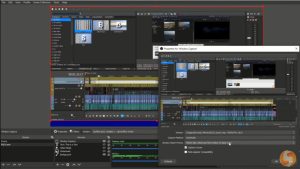
You can use it to capture from a variety of sources, including window capture, images, browsers, webcams, text and more. This will help you to work with an unlimited number of scenes.
Features
Live Streaming: If you want you can configure the stream destination in the settings area of the stream tab services. Once you have configured the streaming destination settings, OBS will live stream to this destination. Just click the start streaming button.
Custom Scenes: You can create custom scenes with a variety of layouts to display all of your audio and video sources.
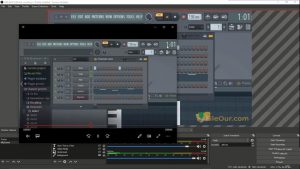
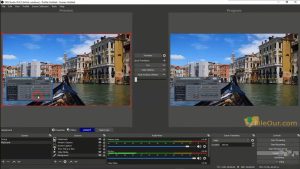
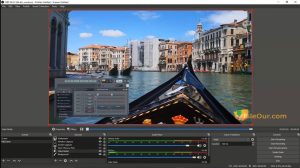
Monitoring Audio and Video: You can monitor your video in the main OBS window. You can also monitor the audio using the audio mixer level.
Record Gameplay: This software is an awesome platform for any gameplay record. Simply download, install and start recording games with the software.
You can record your game in 1080p or a higher resolution. It will be very smooth, especially with games where there’s a lot of movement like FPS games etc.
OBS Plugins: OBS plugins are used to extend the functionality of OBS Studio full version. By adding custom code written to do specific tasks.
NewTek NDI Plugin
The most popular OBS plugin is NDI which is an IP video production protocol. Anyone can easily set up a third-party NDI plugin and broadcast via the NDI source.
VirtualCam Plugin
Another popular plugin is called OBS VirtualCam which allows you to take any video inside of OBS and connect it to another camera input via a virtual webcam source. This is great for pumping video from obs into applications like Zoom Meetings or Skype.
Remote Control Plugin
Another popular plugin is an OBS remote control which provides an IP server to control obs remotely.
VST Plugin
You can also install VST 2.x and 3.x plugins in your screen recorder. VST compatibility opens the door for a huge variety of tools. It’s really gonna make it sound good.
It comes to streaming and making better content for your viewers. This feature is only supported on the Windows 64-bit version.
Conclusion: In addition, it has some rich premium tools that make it easy to organize your video. Using this software you can create a professional video in a very short time.
OBS Studio Software is the first choice for those who specially create a series of tutorials, guides, notes, News videos, etc.
|
Pros
|
Cons
|
How to Install OBS studio?
If you have Microsoft Visual C++ you can easily install it. But you do not have this you do not install OBS studio. You must have Microsoft DotNet Framework software installed on your PC to install this software.
- Click on this executable file which you downloaded now.
- There was a setup window and click .
- Here read the “Terms and Conditions” then select “I agree”.
- You can see the destination folder and set this default and click
- Check on “Plugins and real sense Sources” and click
- Finally, click to launch the software
After a while, your OBS Studio for Mac or Windows is installed successfully enjoy it.
How to First Time Setup OBS Studio?
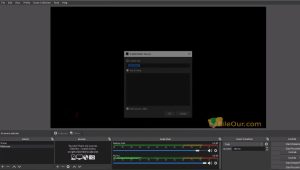
I am very impressed with its flexible setup capabilities. Now I will show you how to set up OBS Studio to record your computer screen. Open your software. If you open it the first time it provides a popup window and clicks “Yes”. Then you can see two radio buttons and that button is:
- Optimize for streaming, recording is secondary.
- Optimize for recording, I will not be streaming.
It depends on you why you use this software. Select a button which you want. Just click “Next”. There were video settings where you could easily set video resolution and set FPS. Set this and click “Next”. Now your setting was processing after a while it was completed and just click “Apply Settings”. Now your first settings are done.
How to Record Screen?
- Right-click on the Sources section and just click Add
- Here you can see Display Capture just click on it
- There was a new window press OK
- Now you can see the Properties window you see it and click ok
- On the right bottom side, you can see Controls. In Controls, you can see the Start Recording button and click on it.
Now your recording is started and you record anything enjoy it.


